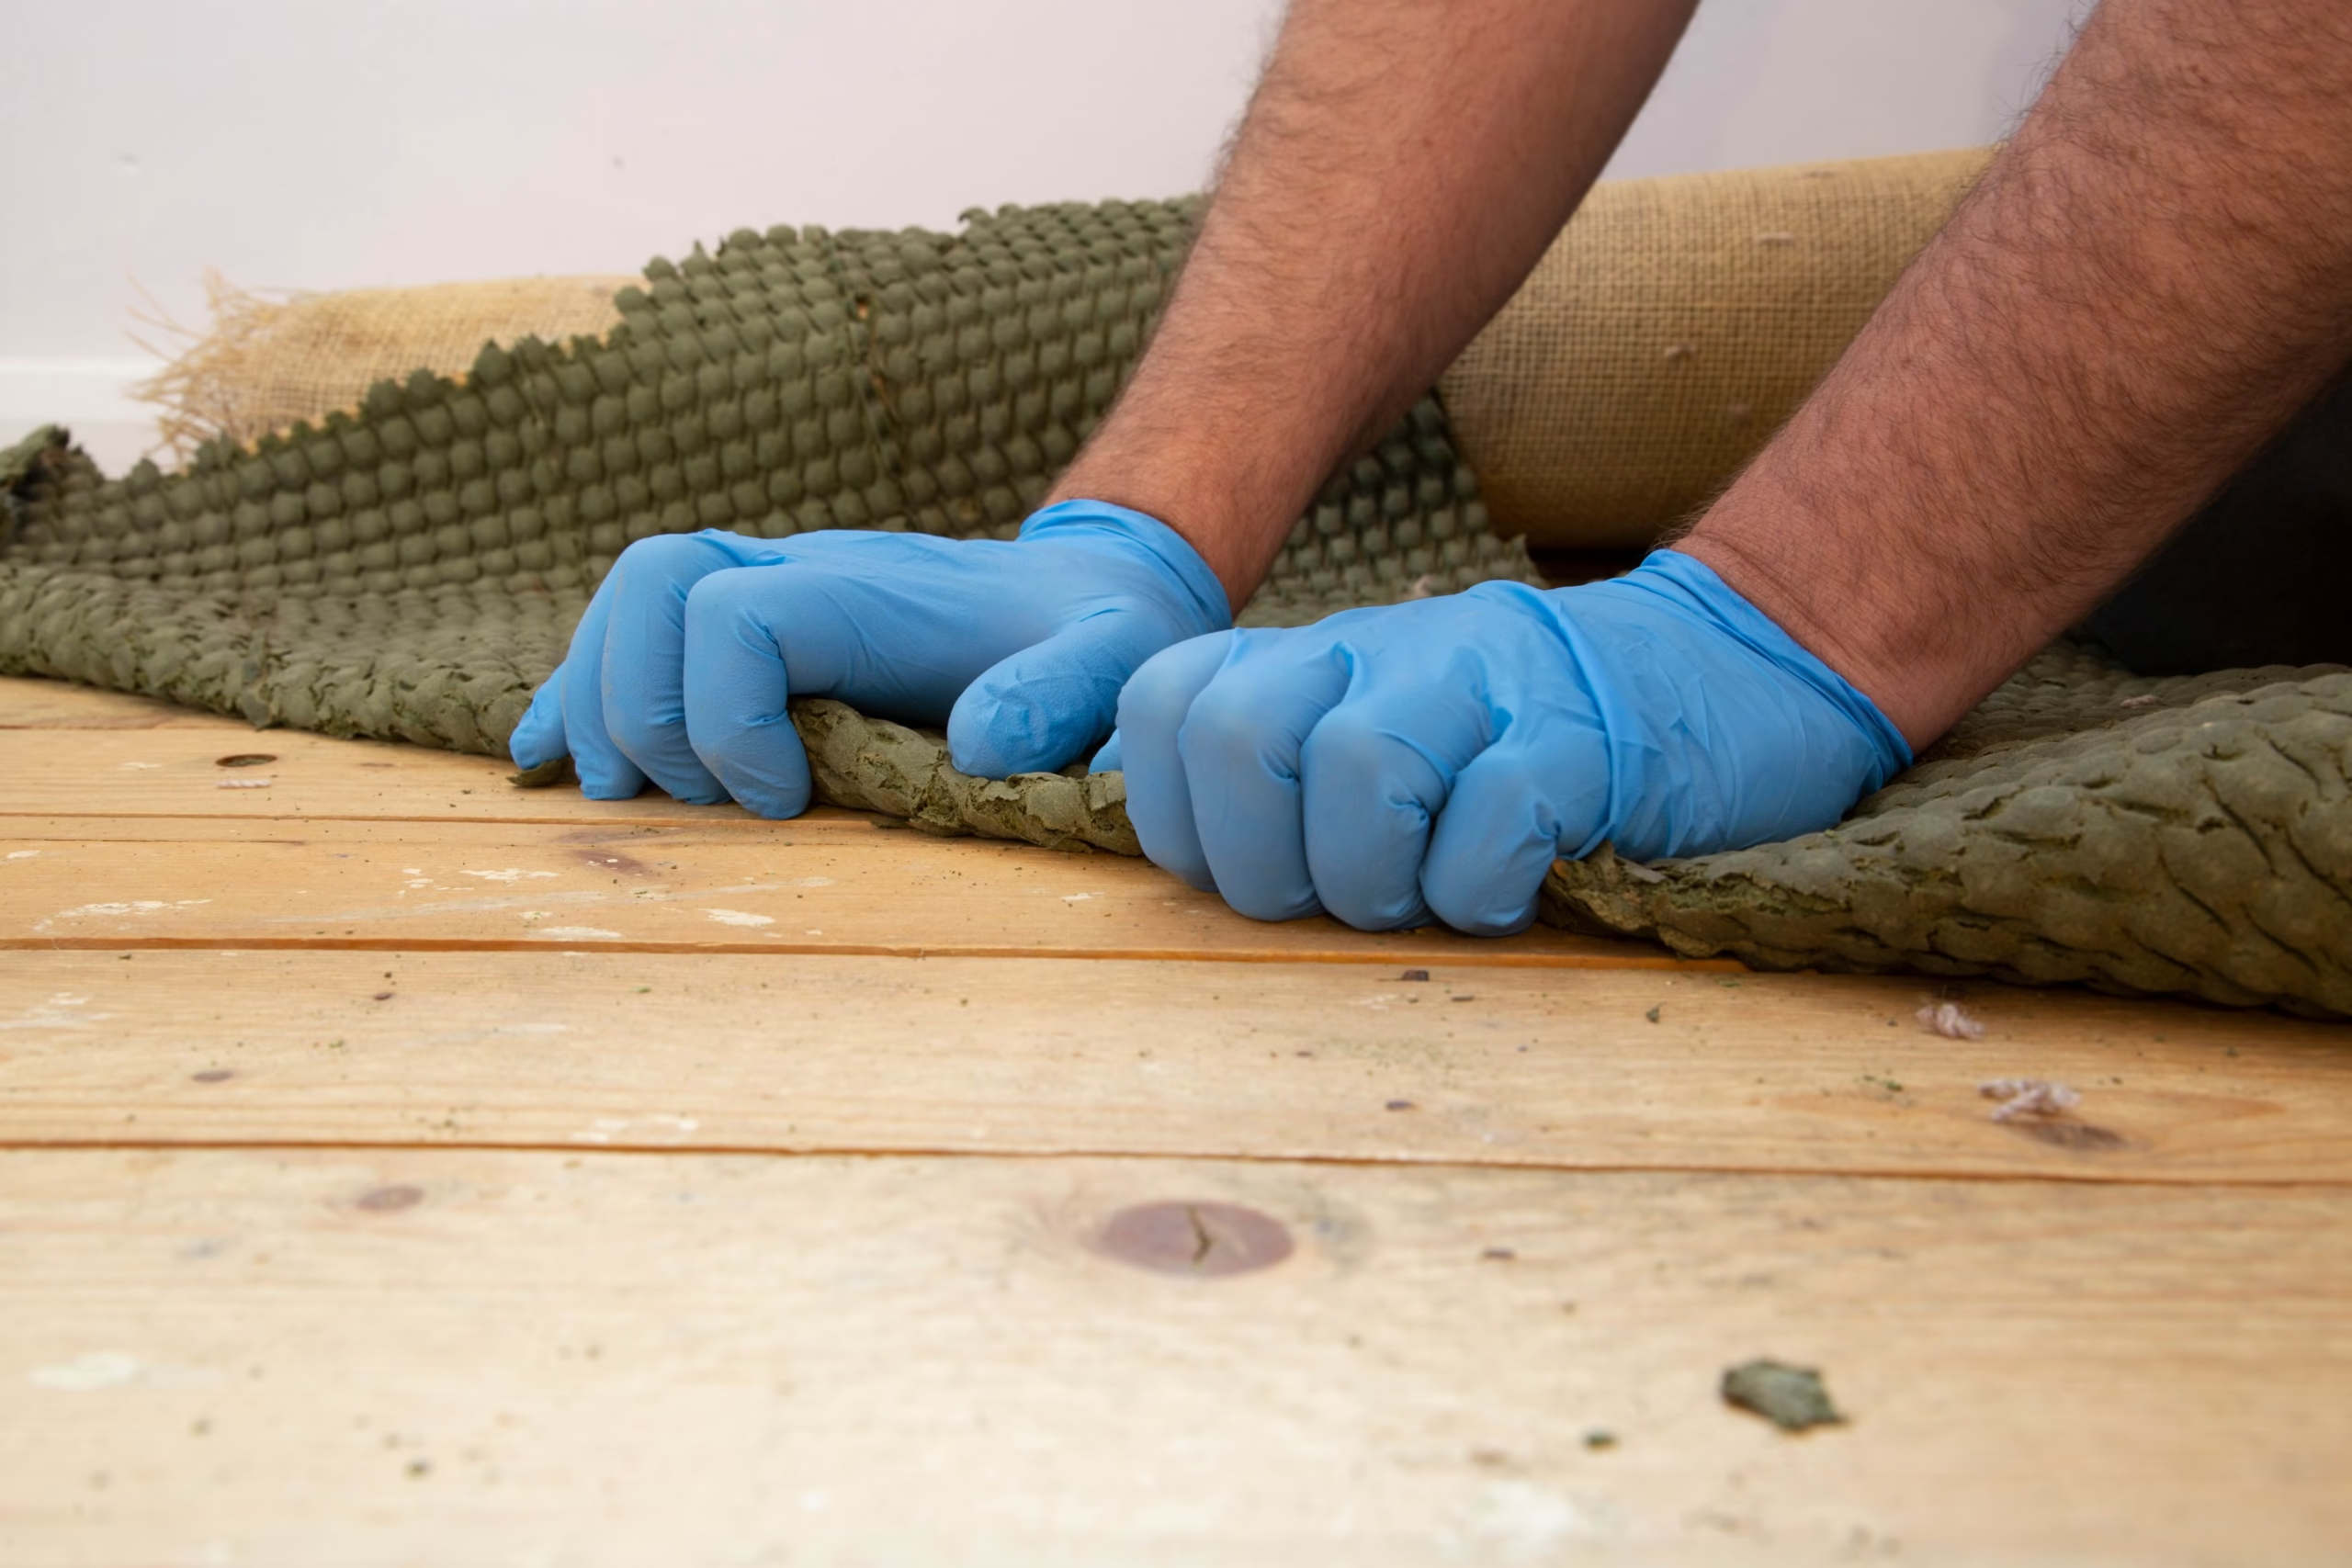
Replacing worn carpet with hardwood flooring is one of the highest-value home improvement investments in the Treasure Valley, increasing property values by up to 5% while dramatically improving indoor air quality and the overall visual appeal of your home. Successfully transitioning from carpet to authentic timber requires meticulous subfloor preparation, precision moisture testing, board feathering into adjacent spaces, and proper high-desert acclimation to ensure your new living spaces withstand the test of time.
Moving Beyond Wall-to-Wall Carpet in the Treasure Valley
For decades, wall-to-wall carpet was the standard builder’s choice for bedrooms, basements, and open living spaces across Boise, Meridian, and Eagle. It felt plush underfoot and kept homes cozy during those brisk Idaho winters.
However, as design sensibilities have evolved toward organic modern aesthetics, more homeowners are recognizing carpet’s limitations. Between dust blowing in from the Owyhees and Foothills, pet dander, and normal wear and tear, synthetic carpet fibers act like giant magnets that trap dust, pollen, and stubborn allergens. No matter how often you vacuum, deep-seated debris always stays trapped inside the carpet fibers and the padding underneath.
Upgrading to natural hardwood replaces a short-lived textile with a permanent architectural asset. Beyond being hygienic and easy to clean, real wood flooring eliminates uneven grout lines or synthetic seams, visually expanding your layout and creating a cohesive, open feel across your entire home.
Why Upgrading to Hardwood Adds Value to Your Home
When prospective home buyers tour properties in competitive areas like Eagle, Star, or the North End, their eyes go straight to the floors. Worn, stained, or dated carpet can signal deferred maintenance and an immediate renovation expense in the eyes of the prospective buyer.
In contrast, authentic hardwood provides unmatched aesthetic appeal and long-lasting value:
- Long-Term ROI: According to national real estate remodeling data, installing hardwood flooring can yield up to a 118% return on investment at resale, making it a reliable financial upgrade.
- Hypoallergenic Living: Upgrading to hard surfaces immediately boosts indoor air quality by eliminating the dust reservoirs common to high-pile carpet.
- Multi-Decade Durability: While carpet typically requires complete replacement every 7 to 10 years, solid and premium engineered hardwood can last for generations with periodic maintenance and refinishing services.
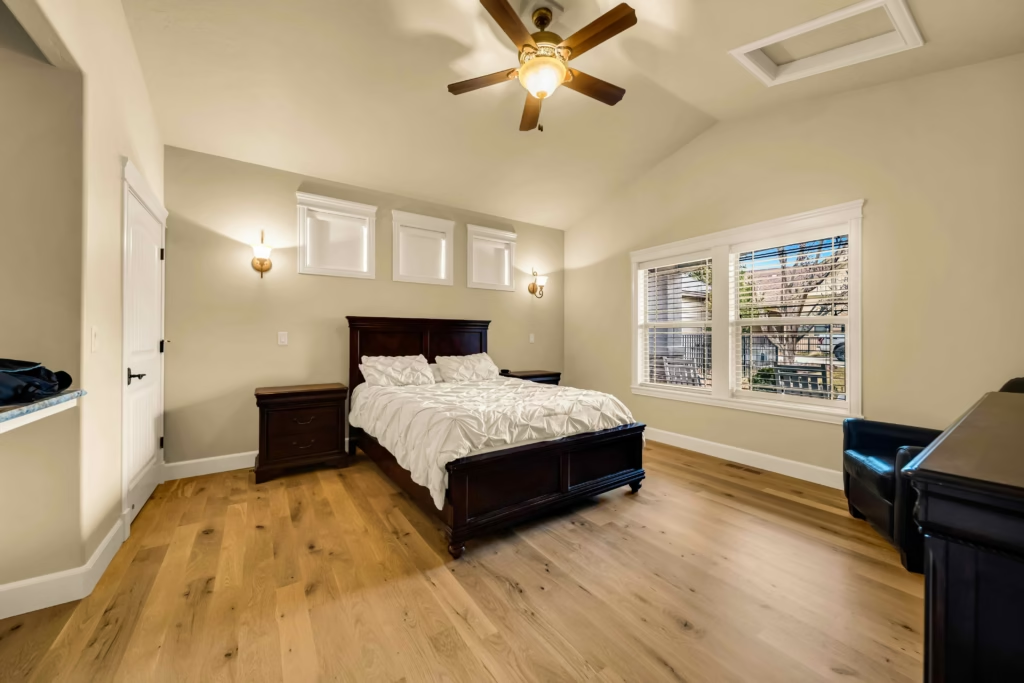
Step 1: Selecting the Right Type of Flooring for Your Space
Before pulling up a single tack strip, you must choose the specific type of flooring that suits your home’s foundation, architecture, and daily routine.
| Flooring Option | Best Application & Architectural Context |
|---|---|
| Solid Hardwood | Plywood subfloors, main-level living areas, historic North End restorations where lifetime sandings matter. |
| Engineered Hardwood | Concrete slab foundations, daylight basements, radiant heating zones, or wide-plank profiles (6″ to 9″+). |
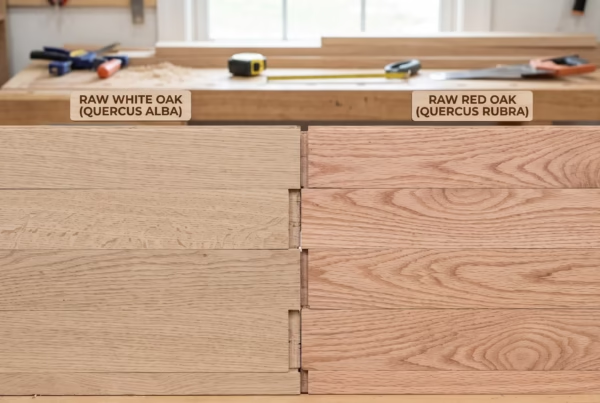
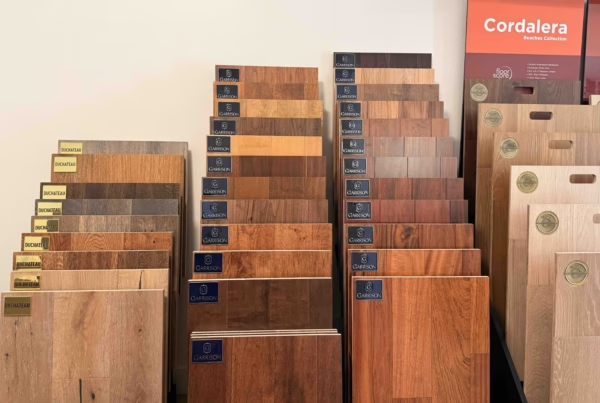
When evaluating a flooring option, species selection plays a pivotal role. Dense domestic hardwoods like White Oak, Red Oak, and Hickory offer excellent resilience against heavy foot traffic, while modern wire-brushed or low-sheen matte finishes easily disguise minor surface scuffs.
Step 2: Carpet Demolition and Subfloor Discovery
Removing carpet involves more than simply cutting away fabric. What lies underneath dictates the long-term success of your installation.
Carpet Removal and Subfloor Preparation Phases
| Tear-out | Fastener Clear | Flatness Audit | Moisture Test |
|---|---|---|---|
| Remove Carpet & Foam Pad | Pull Staples & Perimeter Tack Strips | Grind Highs, Patch Lows (3/16″ Rule) | Pinless Subfloor Meter Check |
- Tear-Out and Disposal: Carpet and foam padding are rolled, bundled, and hauled away.
- Tack Strip and Staple Extraction: Hundreds of perimeter tack strips and pad staples must be mechanically removed to ensure the subfloor is completely clear.
- Subfloor Inspection: Once bare, the subfloor must be inspected for rot, structural deflection, or squeaks. Loose plywood panels are screwed down tight into floor joists.
- Flatness Corrections: Wood floors require an exceptionally flat plane (typically within 3/16-inch variance over a 10-foot radius). High spots are ground flat, and low dips are leveled with specialized compounds.
Step 3: Board Feathering and Seamless Room Transitions
One of the most technically demanding aspects of installing hardwood where carpet once sat is integrating the new planks into existing hard surfaces.
If your hallway already features real timber while the adjacent living room has carpet, an amateur installer will simply slap an elevated transition T-molding across the doorway. While functional, this creates an awkward visual break and a distinct tripping hazard.
Board Feathering Technique
| Phase | Description |
|---|---|
| Existing Floor | Current floorboards at the transition line are cut back at staggered intervals to prep for new wood. |
| New Installation | New raw boards are individually laced into the staggered gaps, carefully matched to the original plank widths, grain lines, and direction. |
| Final Result | The combined area is sanded and refinished as one, creating a seamless, unified surface that looks as if it was installed on the same day. |
Master craftsmen use a technique called board feathering (or “lacing in”):
- The existing floorboards at the transition line are carefully cut back at staggered, staggered intervals.
- New raw boards are individually laced into the open gaps, matching the original plank widths, grain lines, and direction.
- The entire combined space is then sanded and refinished together, producing a unified visual surface that looks as if it was installed on the very same day.
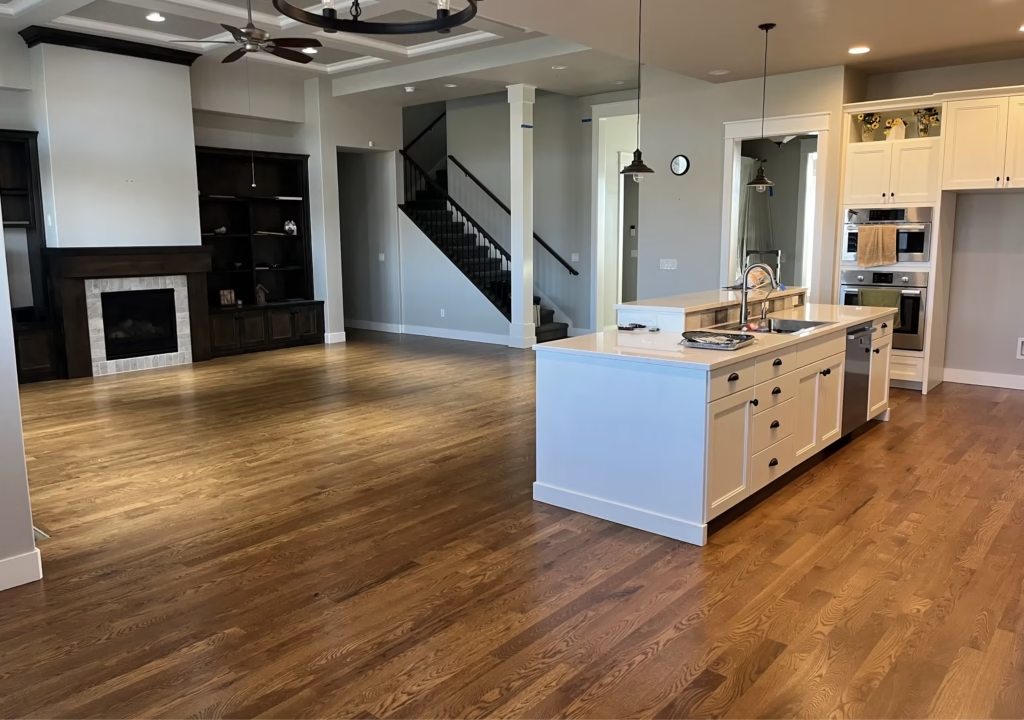
Step 4: The High-Desert Acclimation Process
In Boise’s arid high-desert environment, skipping the acclimation stage is the most common cause of early floor failure. Because timber is hygroscopic, new wood must reach moisture equilibrium with your home’s indoor relative humidity before being fastened down.
Heritage Hardwood delivers your raw materials to your interior living space days ahead of installation. Our technicians use pinless moisture meters to verify that the moisture content of the subfloor and the new timber are within a tight 2% to 4% margin of each other. This disciplined preparation prevents boards from shrinking, gapping, or cupping once cold weather arrives.
Homeowner Checklist: Do’s and Don’ts for Carpet-to-Wood Upgrades
- DO evaluate whole-home humidification to ensure winter indoor relative humidity stays between 30% and 50%.
- DO order an extra 10% to 15% of material over your net square footage to account for cutting waste and custom board selection.
- DON’T install solid wood planks directly over a below-grade concrete basement slab; opt for high-stability engineered hardwood instead.
- DON’T let contractors use cheap, non-matching transition strips when a feathered tie-in or custom-stained reducer provides a cleaner architectural profile.
Frequently Asked Questions (FAQ)
1. How much does replacing carpet with hardwood typically cost in Boise?
A: Total project costs depend on the chosen wood species, subfloor preparation requirements, and layout complexity. In the Treasure Valley, homeowners typically invest between $9 and $18 per square foot for comprehensive carpet tear-out, professional subfloor leveling, premium materials, and master installation.
2. Can I install new hardwood floors directly over my existing subfloor?
A: Yes, provided the subfloor is structurally sound, clean, flat, and dry. Plywood and OSB subfloors easily accommodate nail-down or glue-assist applications, while concrete slabs require an engineered product installed via specialized moisture-barrier adhesives or floating underlayments.
3. How long does a carpet-to-hardwood conversion take to complete?
A: A standard residential project involving 800 to 1,500 square feet generally requires 3 to 5 business days. This window accounts for carpet removal, subfloor leveling, precision board fastening, and detail trim work like baseboards and shoe moulding.
4. Will switching from carpet to wood make my bedrooms feel colder in the winter?
A: Real timber retains ambient room heat far better than synthetic tile or laminate. You can maintain cozy bedroom warmth by pairing natural wood with breathable wool area rugs, giving you comfortable spots for your feet while keeping the overall room clean and allergen-free.
Elevate Your Home with Master Craftsmanship
Replacing old carpet with authentic wood flooring is more than a simple cosmetic upgrade, it is a lasting investment in your property’s character, health, and market value. By handling every phase with precision, from clean tear-out and subfloor preparation to custom board feathering, Heritage Hardwood Flooring ensures your home transformation is seamless from start to finish.
To learn more about long-term preservation and everyday care, review our guide to hardwood floor maintenance. If your project involves tying into aged hardwood that needs color matching or sanding, explore our 99% dustless hardwood floor refinishing services.
Ready to say goodbye to stained carpet and welcome the timeless beauty of real wood? Contact Daniel Wallis and the Heritage Hardwood team today to begin your home remodel.