
Attempting a DIY real wood installation process often leads to hidden costs, subfloor failures, and immense household stress. By partnering with licensed, local craftsmen for professional floor installation, Treasure Valley homeowners avoid ruined materials, voided warranties, and marital tension, ensuring a stress-free luxury transformation that stands the test of time.
The Weekend Warrior’s Fairy Tale
It starts innocently enough on a quiet Friday evening in Eagle or Meridian. You and your spouse are scrolling through social media, admiring stunning, wide-plank White Oak living rooms and warm, modern rustic kitchens. The idea takes hold: “What if we replace our tired carpet ourselves? How hard could it really be?”
After a quick 10-minute video online, it looks deceptively simple. A few taps of a mallet, a couple of quick cuts, and you’ll be sipping wine over your new, self-installed masterpiece by Sunday evening, all while telling yourselves how much money you’re going to save on your home improvement project.
Now, fast forward to Sunday afternoon: your living room is a chaotic zone of saw dust, your subfloor is unexpectedly uneven, the hall closet door won’t close over the new plank height, and you’re currently standing in the middle of a home improvement store aisle arguing over pneumatic nailers.
The truth is, while diy projects like painting an accent wall or changing out cabinet hardware can be fun weekend accomplishments, laying real timber flooring is a precise, technical trade. When things go sideways during a floor install, it isn’t just time consuming; it can put serious strain on your household harmony and your wallet!
The Technical Reality: Why Flooring Isn’t a “Learn-as-You-Go” Project
What online video tutorials rarely mention is that successful wood laying is 80% preparation and 20% surface execution. Professional installation process standards require years of hands-on apprenticeship to master, particularly when adapting to Idaho’s high-desert air shifts.
The Technical Checklist Before a Single Board is Laid:
- Moisture Content Testing: Verifying Subfloor vs. Plank Equilibrium.
- Subfloor Flatness Verification: Ensuring 1/36″ Variance Rules are met.
- Perimeter Expansion Gap Calculation: Accounting for the Boise climate.
- Structural Board Staggering & Pattern Layout: Ensuring a professional, high-end finish.
1. The Subfloor Equilibrium Test
Before driving a single staple or spreading adhesive, professional installers test the exact moisture levels of both your subfloor and your new wood planks using calibrated pinless moisture meters. If you lay wood over a concrete slab or plywood subfloor that holds hidden dampness, that moisture will migrate into your new planks, causing severe cupping, buckling, and warping within months.
2. Flatness vs. Levelness
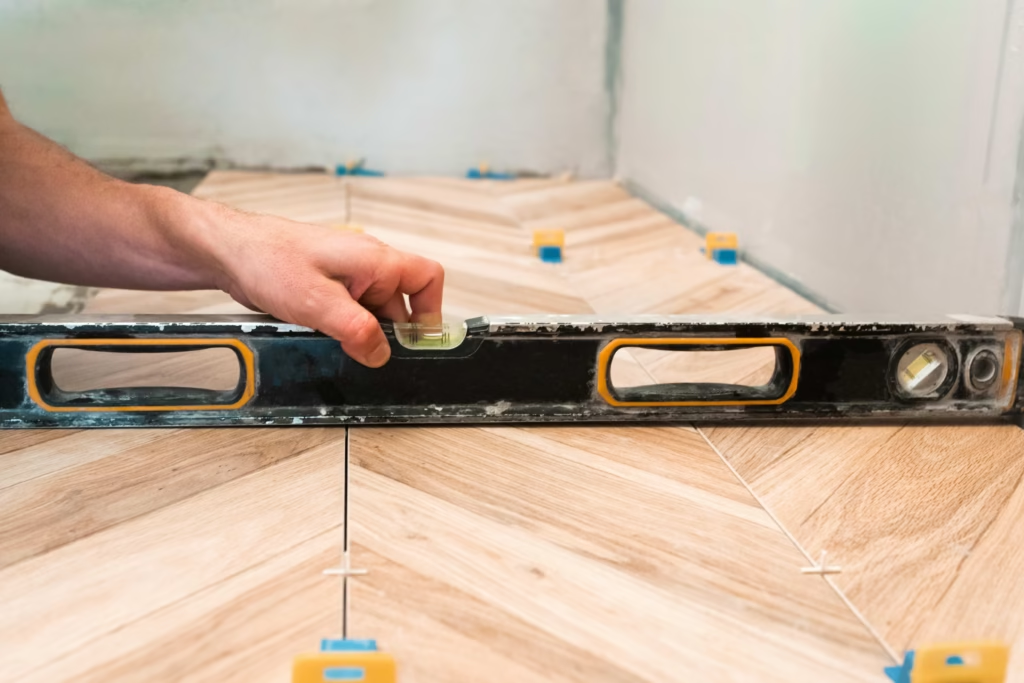
A subfloor doesn’t necessarily need to be perfectly level across a 30-foot room, but it must be exceptionally flat. Micro-dips or high spots in your subfloor create hollow sounds underfoot and cause board joints to flex, creak, and eventually snap open. Leveling a subfloor requires specialized grinding equipment, self-leveling underlayment compounds, and a trained eye for structural tolerance.
3. The Art of Board Staggering
Achieving a seamless, high-end look requires a deep attention to detail. Master craftsmen meticulously select planks from multiple boxes simultaneously, blending color tones and grain variations while maintaining proper end-joint staggering (typically keeping end joints at least 6 inches apart). Improperly staggered boards create obvious “H-joints” or step-ladder patterns that look amateurish and can weaken the floor’s structural integrity.
The Hidden Costs: Specialized Tools and Voided Warranties
One of the biggest misconceptions about DIY flooring is the idea of massive financial savings. When you factor in the rental costs for specialized tools (such as pneumatic hardwood flooring staplers, jamb saws, sliding compound miter saws, moisture meters, and floor levellers) the tool rental budget alone rapidly eats away at your projected savings.
| Risk Factor | The DIY Reality |
|---|---|
| Tool Investment | Expensive rentals or cheap, single-use tools |
| Material Waste | 15% – 20% loss due to improper cuts |
| Manufacturer Warranty | Frequently voided due to minor site errors |
| Timeline & Stress | Weeks of household disruption & friction |
Worse yet is the risk to your material warranty. Premium flooring manufacturers publish extensive installation manuals. If a self-installed floor fails down the road due to improper expansion gaps along walls, unacclimated wood, or incorrect fastener spacing, factory inspectors will inspect the installation, and instantly void the warranty.
When you calculate the potential cost of ruined high quality materials alongside the lost weekend hours, hiring a professional quickly proves to be the most cost-effective decision for the long run.
White-Glove Craftsmanship: The Heritage Hardwood Experience
Upgrading your home should be an exciting design milestone, not a source of domestic friction. At Heritage Hardwood Flooring, we provide a seamless, stress-free experience that protects your peace of mind from initial consultation through final cleanup.
When you partner with Daniel Wallis and our team of licensed, background-checked craftsmen, you get far more than just floor laying expertise:
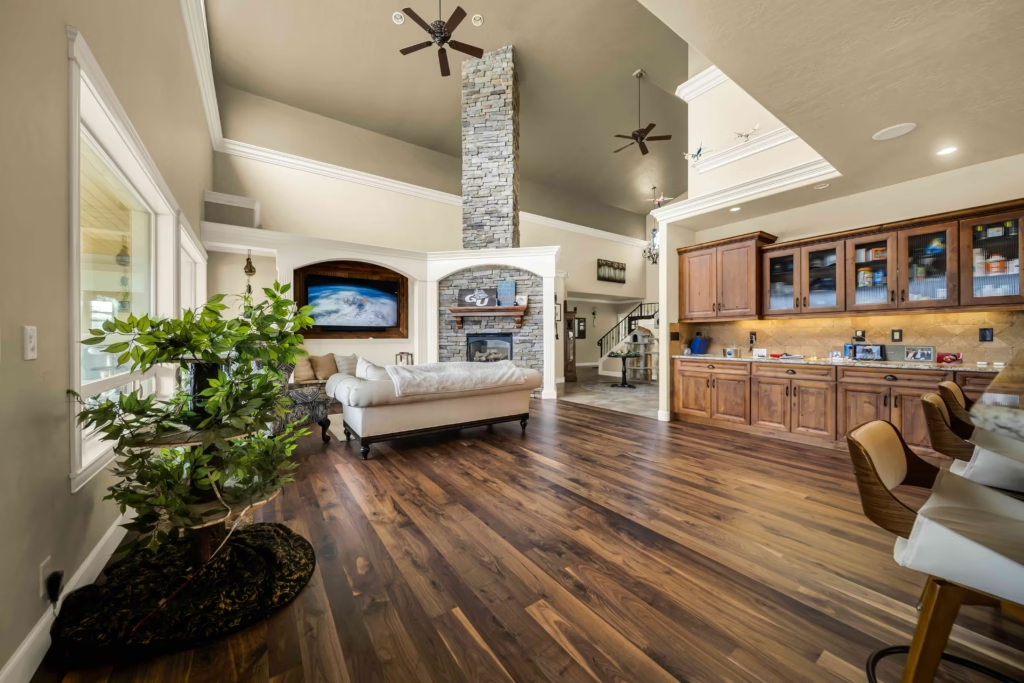
- Respectful, Tidy Workspaces: We treat your living space with the utmost care, utilizing dust-containment systems, masking off adjacent rooms, and keeping a clean, organized work area every single day.
- Precision Execution: From complex custom stair treads to intricate room-to-room transitions, our team delivers flawless architectural lines that elevate your entire home interior.
- Guaranteed Performance: We take full professional responsibility for subfloor prep, acclimation, and structural integrity, backed by comprehensive warranties that protect your investment for decades.
The Heritage White-Glove Workflow:
- Consultation: In-Home Scan & Custom Design Plan.
- Acclimation: Moisture Balanced inside Your Climate.
- Precision Prep: Subfloor Leveling & Moisture Shield.
- Flawless Install: Clean, Timely Execution with Zero Stress.
Do’s and Don’ts for a Stress-Free Remodel
- DO leave structural flooring work, subfloor leveling, and custom staircase integration to licensed, experienced professionals.
- DO allow your new wood planks to acclimate inside your home environment before installation begins.
- DON’T rely solely on 60-second social media clips to estimate the time, skill, or tool requirements of a full room renovation.
- DON’T risk voiding high-end material warranties by guessing on subfloor moisture barriers or expansion gap requirements.
Frequently Asked Questions (FAQ)
1. Is hiring a professional installer really worth the additional labor cost?
A: Yes. Professional installation ensures proper subfloor preparation, precise moisture testing, and flawless board staggering, while preserving your manufacturer’s warranty. When you consider the cost of rented specialized tools, potential material waste, and weeks of personal labor, professional execution provides superior high quality results and complete peace of mind.
2. How long does a professional hardwood floor installation take?
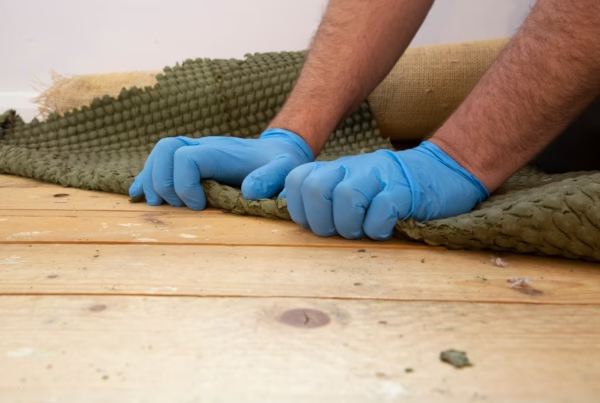
A: While completing projects on a DIY basis can drag on for weeks around work schedules, an experienced professional crew can complete a standard residential installation process in as little as 2 to 4 days (depending on subfloor prep and square footage). For example, if we’re removing old carpet and its tack strips first, that prep phase might add half a day, but our team works efficiently to minimize any household disruption.
3. What happens if a subfloor is not properly leveled before installing wood floors?
A: Installing timber over an uneven subfloor creates hollow spots, floor squeaks, and excessive vertical movement underfoot. Over time, this movement causes tongue-and-groove joints to crack, leading to permanent structural damage and unsightly gaps between planks.
4. Can Heritage Hardwood install new wood floors over existing tile or concrete slabs?
A: Yes! We specialize in advanced engineered hardwood installations over concrete slabs commonly found in modern Boise and Eagle homes. Our technicians perform thorough moisture testing and apply specialized moisture-barrier adhesives or floating underlayments to ensure long-term stability.
Invest in Your Home (and Your Relationship!)
Your home is your ultimate sanctuary, a place meant for relaxation, connection, and comfort. Don’t let a chaotic DIY project turn your dream renovation into an exhausting source of stress.
Whether you are looking to install rich wide-plank Hickory in a new build or restore existing hardwood through our dustless hardwood floor refinishing, letting true master craftsmen handle the heavy lifting ensures your floors look magnificent for a lifetime.
To learn more about keeping your newly installed floors pristine across every season, explore our complete guide on hardwood floor maintenance.
Ready to enjoy a stress-free home transformation? Skip the tool rental line and leave the heavy lifting to Boise’s premier wood specialists.